
Craving the authentic taste of Neapolitan pizza with its soft, airy crust, slightly charred edges, and vibrant, minimalist toppings? This iconic dish from Naples, Italy, governed by the Associazione Verace Pizza Napoletana (AVPN), is a culinary masterpiece that seems daunting to recreate without a wood-fired oven. However, a conventional oven, typically maxing out at 250°C (482°F), can produce a remarkably close version with the right techniques. This 700-word blog post shares a detailed recipe for a classic Margherita pizza, optimized for a standard home oven, with a focus on a two-step baking method to achieve that tender, slightly wet Neapolitan texture and flavor.
Why Neapolitan Pizza?
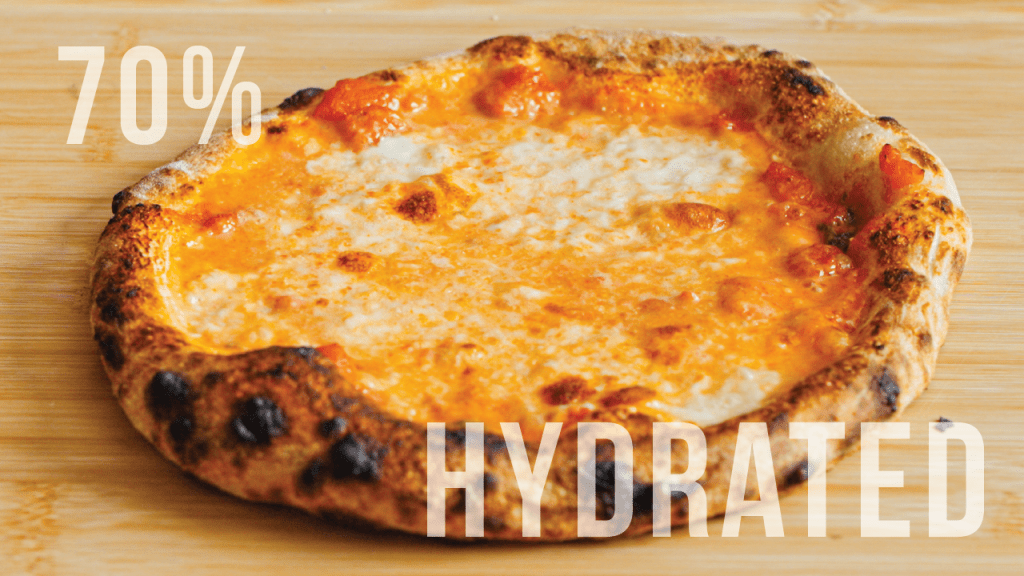
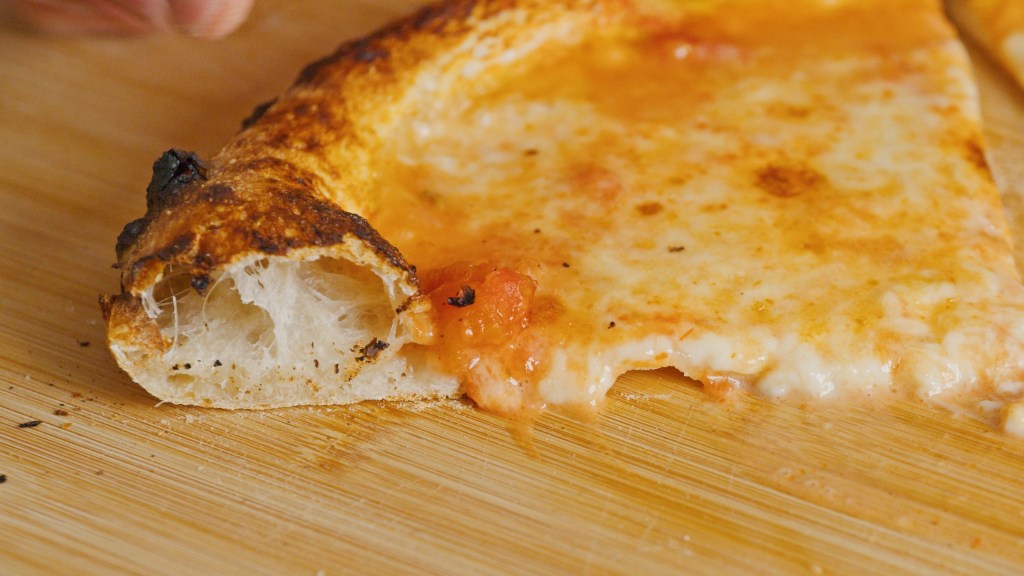
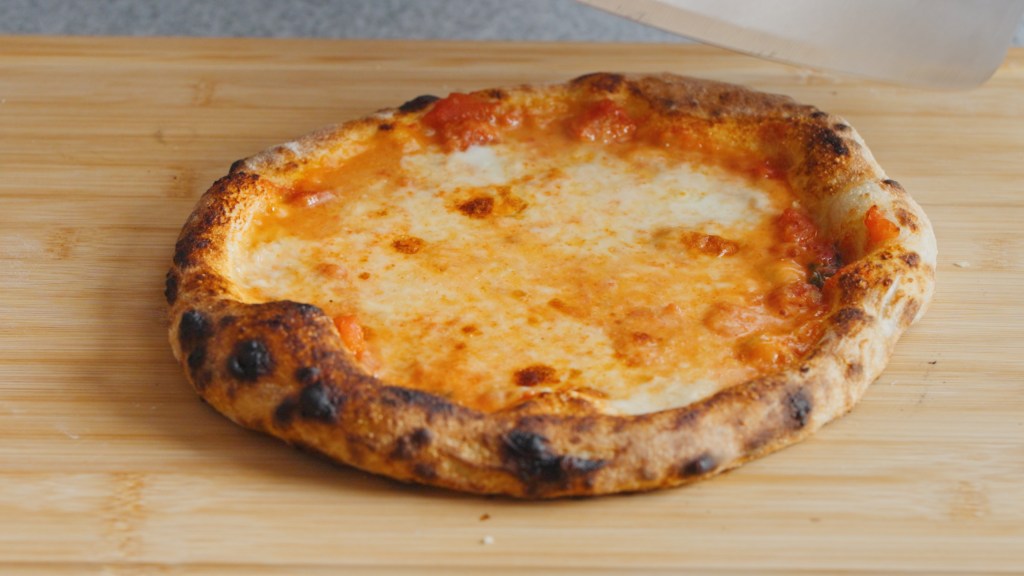
Neapolitan pizza stands apart from styles like New York’s crispy slices or Chicago’s deep-dish due to its simplicity and premium ingredients. The dough, made with just flour, water, yeast, and salt, yields a chewy crust with a puffy rim (cornicione). Toppings are sparse—San Marzano tomatoes, mozzarella di bufala, and fresh basil—ensuring the dough remains the star. Traditionally baked at 485°C for 60-90 seconds, Neapolitan pizza has a soft, slightly wet center and charred “leopard spots.” With a conventional oven, a two-step baking method (tomatoes first, then cheese) adapts to lower temperatures, delivering authentic results.
Makes: 6 pizzas (10 inches each)
Prep Time: 17-26 hours (including dough fermentation)
Cook Time: 13-18 minutes
Ingredients
For the Dough
- 780g Caputo Type 00 Pizzeria flour (300g for poolish, 480g for final dough)
- 545g water (300g for poolish, 245g for final dough, lukewarm ~25°C/77°F)
- 15g fine sea salt
- 5g active dry yeast
- 5g sugar
- Olive oil (for coating hands and bowl)
For the Toppings (Margherita)
- 1 can (400g) chopped San Marzano tomatoes
- 1 tsp fine sea salt
- Handful of fresh basil leaves, torn
- 1 tbsp extra virgin olive oil (optional, for sauce)
- Parmesan cheese (grated, to taste)
- Mozzarella cheese (di bufala or fior di latte, torn, ~100-150g per pizza)
Equipment
- Conventional oven (max 250°C/482°F)/pizza oven (max 480°C/896°F)
- /Pizza stone or steel
- Pizza peel (or baking sheet)
- Mixing bowl
- Dough cutter
- Digital scale
- Cling film
Instructions
Prepare the Poolish
In a bowl, combine 300g lukewarm water, 5g yeast, and 5g sugar. Stir and let sit for 5 minutes to proof.

Add 300g Type 00 flour, mix well, cover with cling film, and rest at room temperature for 1 hour. Refrigerate for 16-24 hours to develop flavor.

Make the Dough
Remove the poolish from the fridge, uncover and add 245g lukewarm water, and stir until mostly dissolved.

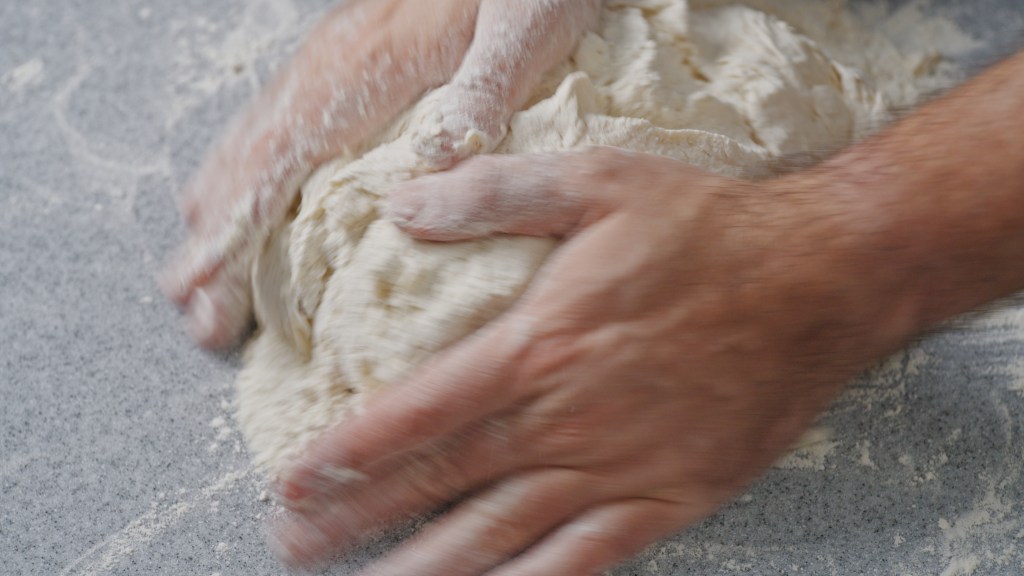
In a large bowl, combine 480g Type 00 flour with the poolish. Add half the flour, mix, then add 15g salt and mix again. Incorporate the remaining flour, stirring until a shaggy dough forms. Turn onto a work surface and knead until all flour is incorporated.
Cover with a bowl and rest for 15 minutes.
Coat your hands with olive oil, lift the dough’s center, let it droop and fold in half, keeping the center facing up.
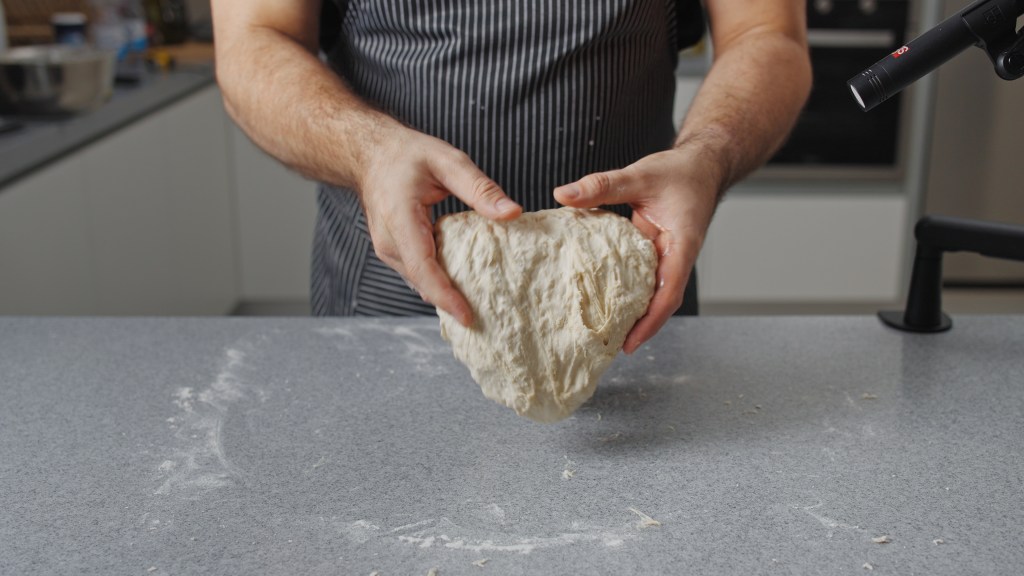
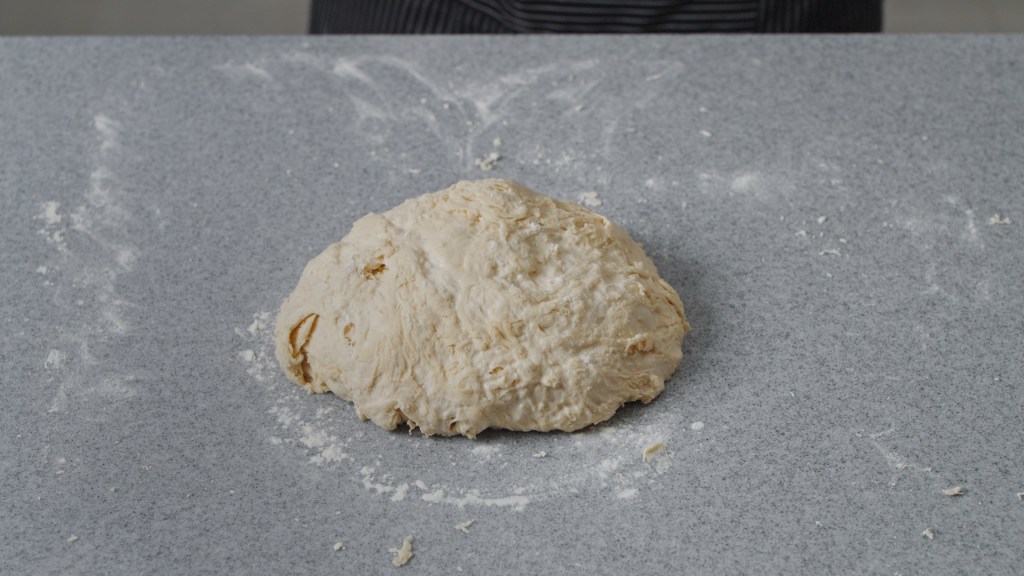
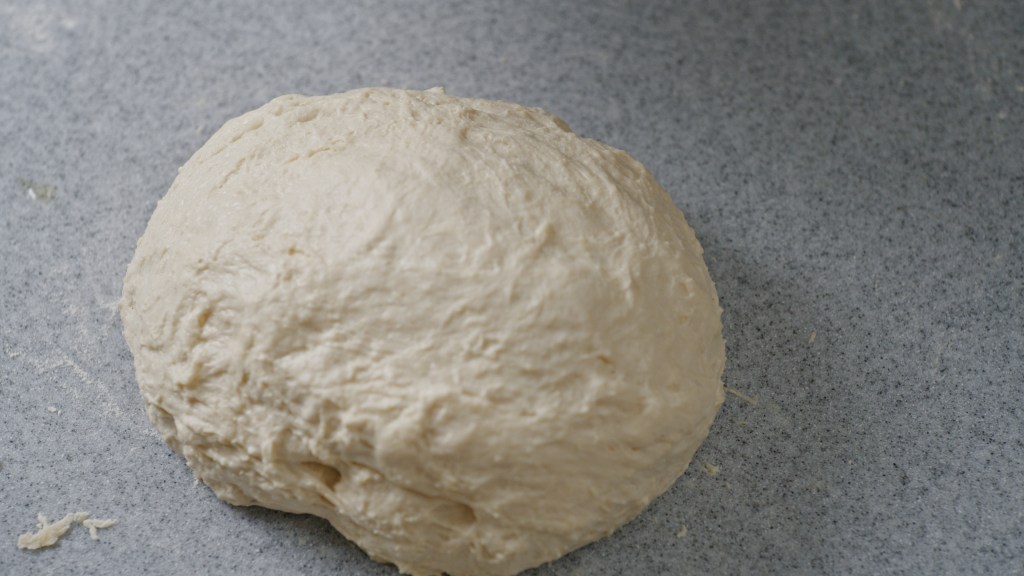
Rotate 90 degrees and repeat for 10 minutes until sticky, semi-smooth, with visible gluten lines. Place in an oiled bowl, cover, and rest at room temperature for 1 hour.
Shape the Dough
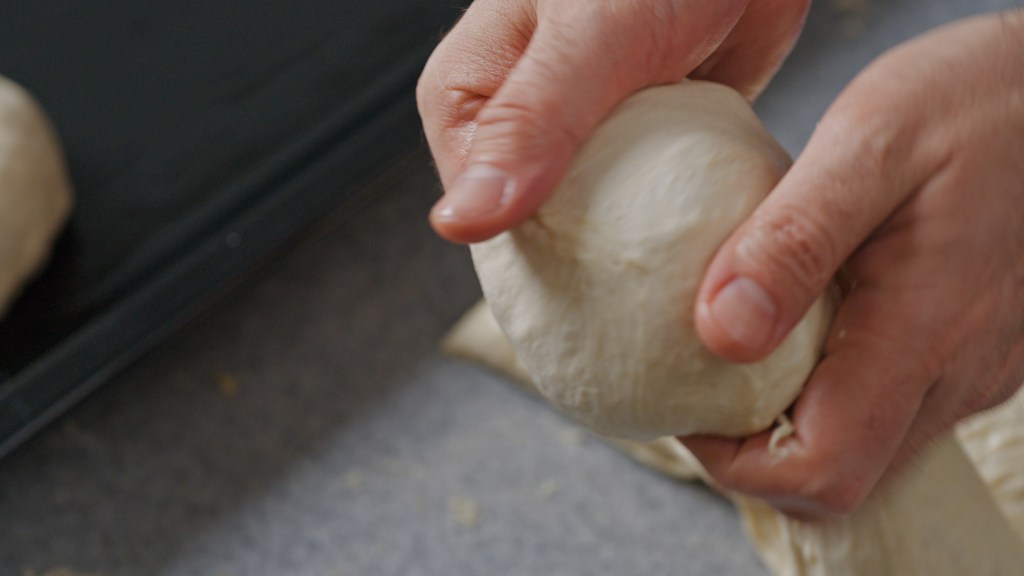
Oil your hands, invert the bowl to release the dough onto your hand, and flip it onto the work surface. Using a dough cutter, slice strips about the thickness of your forearm. Lift each strip, fold the top inward, and roll into a ball (~250-300g).
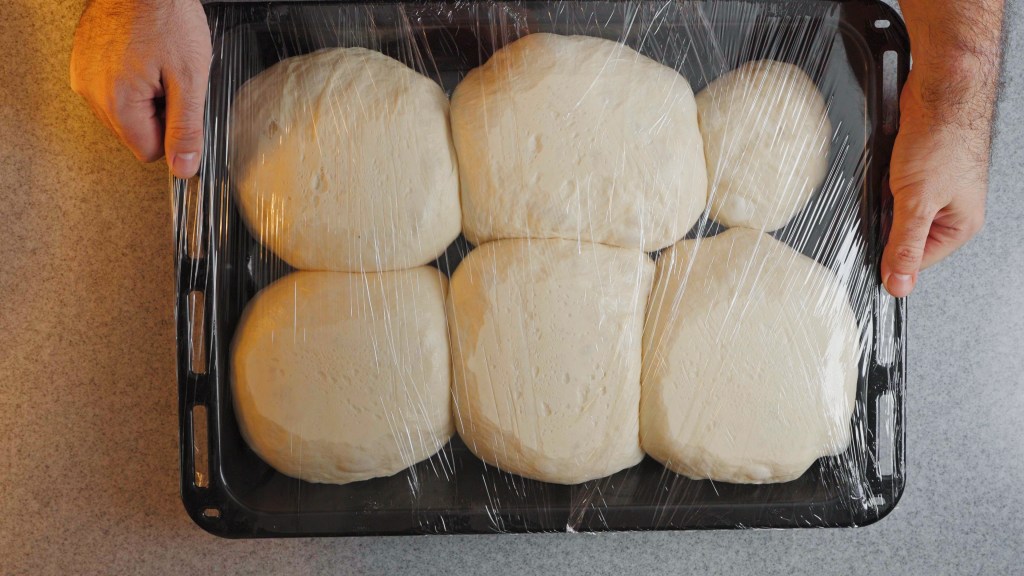
Place balls in a pan, cover with cling film, and proof for 2 hours.
Prepare the Tomato Sauce
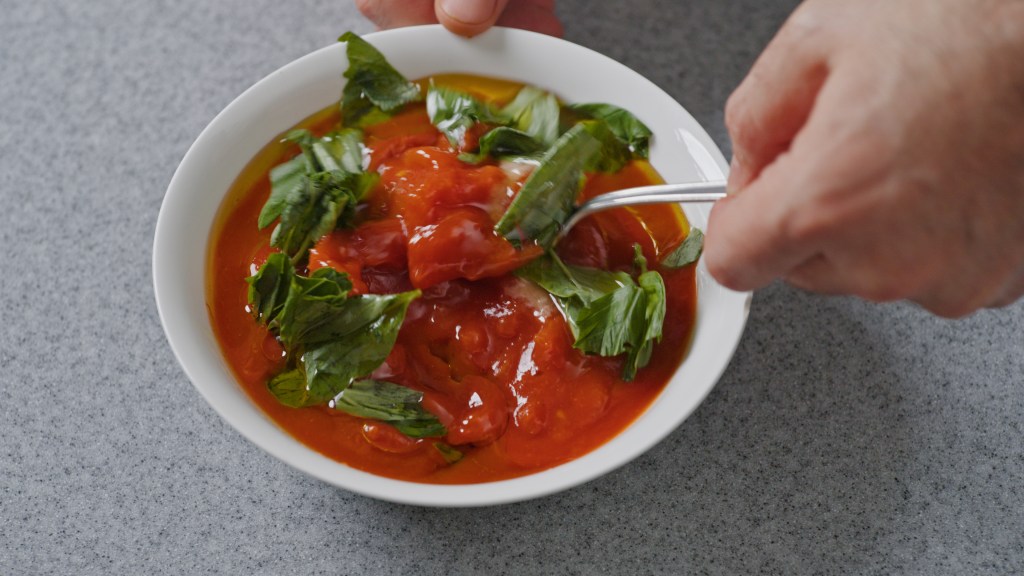
In a bowl, mix the canned San Marzano tomatoes, 1 tsp salt, a handful of torn basil leaves, and 1 tbsp olive oil (if using). Stir until well combined, ensuring the oil is fully incorporated if added.
Preheat the Oven
Place a pizza stone or steel on the middle rack of your conventional oven and preheat to 250°C (482°F) for at least 1 hour to ensure maximum heat retention. If you have a pizza oven set it to it’s maximum temperature and preheat for 20 minutes.
Shape the Pizza
Press the center of a dough ball to de-gas, leaving a margin for the crust. Pop any large, thin bubbles. Secure the dough with one hand, gently stretch with the other, flip, rotate slightly, and repeat. Focus on stretching thicker areas for uniform thickness.

Use your hands like a cat’s cradle, rotating 90 degrees to stretch evenly. Slap the dough onto the work surface and arrange into a circle (10 inches).

Assemble and Bake (Two-Step Method for conventional ovens)
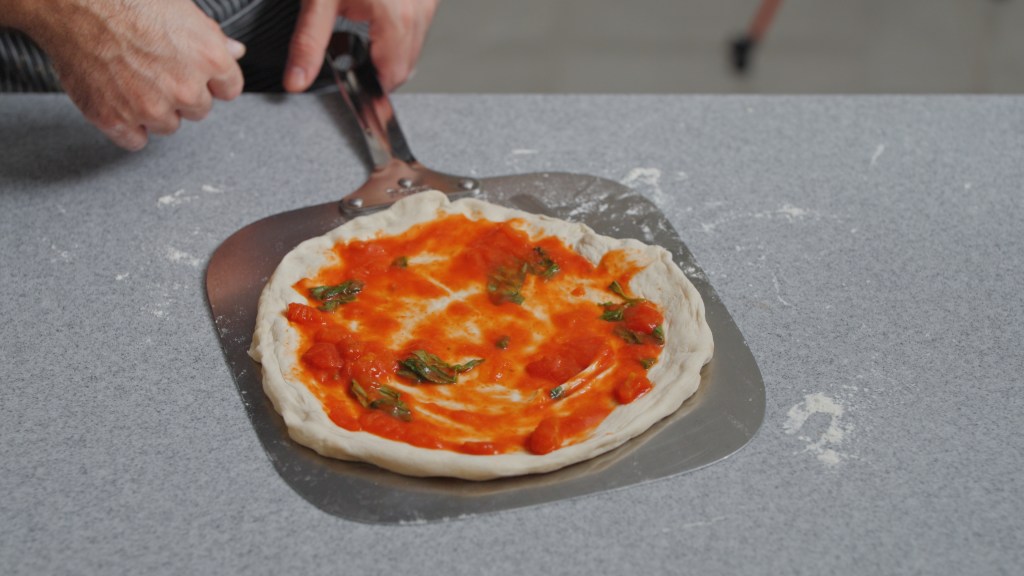
- Step 1: Tomato Base
Spread a thin layer of tomato sauce over the dough, leaving a 1-inch border. If the dough sticks, sprinkle flour under it and on the pizza peel, then slide the peel under with one fluid motion. Transfer to the preheated stone and bake for 6-8 minutes until the crust is lightly golden.
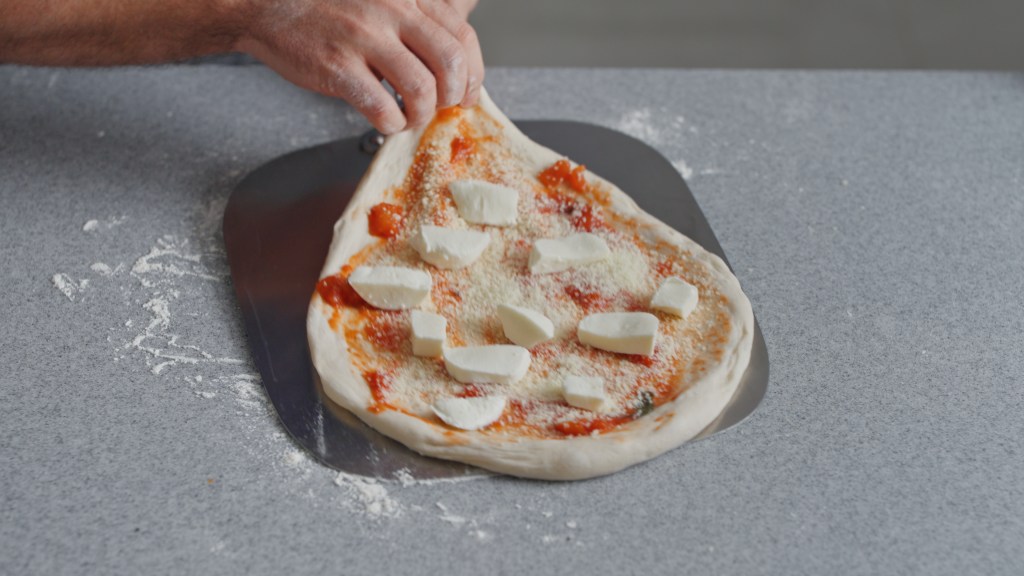
Step 2: Add Cheese and Finish
Remove the pizza, sprinkle with Parmesan and torn mozzarella, and return to the oven for 7-10 minutes until the cheese is melted and bubbly and the crust is golden.
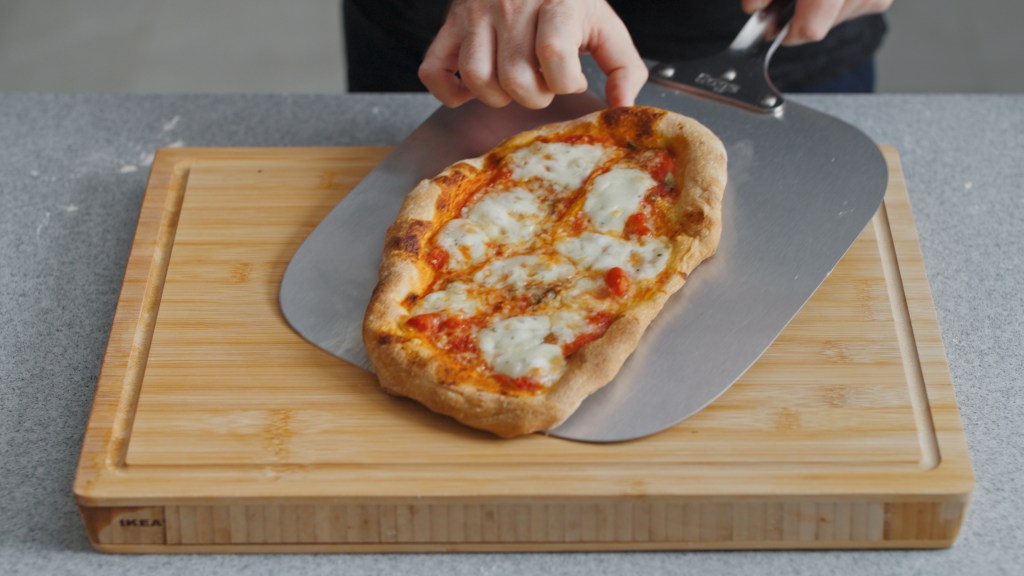
Serve
Drizzle with olive oil and serve immediately. The crust should be soft, slightly wet in the center, with a drier, golden edge due to the oven’s lower heat.
Assemble and Bake (Pizza Oven Method)
- Same as above but without the two steps, just add all toppings and slide into the oven for 2.5-3 miinutes
Serve
Drizzle with olive oil and serve immediately. The crust should be soft, slightly wet in the center, with a crispy, slightly charred and deep golden edge due to the oven’s higher heat.
Tips for Success
- Flour: Caputo Type 00 Pizzeria flour is ideal for authenticity and texture.
- Poolish: The 16-24 hour fermentation adds depth to the dough’s flavor.
- Oven Hacks: Preheat the stone for 1+ hour for optimal heat.
- Two-Step Baking: Adding cheese after the initial bake prevents overcooking at 250°C, keeping it creamy and the dough evenly cooked.
Why It’s Worth It
Neapolitan pizza’s charm lies in its balance of simplicity and quality. While a conventional oven’s 250°C can’t match a wood-fired oven’s intensity, the two-step baking method—tomatoes first, then cheese—adapts brilliantly, delivering a tender, airy crust with a golden edge. The long fermentation and premium ingredients like San Marzano tomatoes elevate the flavor, making every bite a taste of Naples.
Final Thoughts
Crafting Neapolitan pizza in a conventional oven is a rewarding endeavor. With a hot pizza stone, the two-step baking method, and a bit of patience, you can create a pizza that rivals artisanal pizzerias. Gather your ingredients, fire up your oven, and savor the joy of homemade Neapolitan pizza. Buon appetito!


Leave a comment